Diving into Notifications
In most applications, we need to send notifications, whether in-app, email or slack - these are typically transactional notifications to alert users of some action or event in your application. Let’s take a dive.
The first thing you need to think about when wanting to send notifications to a user is the delivery mechanism. Do we want to send a quick email? Or is this a system-style notification where we want to send data to a slack channel? Or maybe it is an in-app notification because somebody liked the picture of your cat?
Either way, delivery is at the foundation of any notification, and of course, with Laravel, you can deliver to multiple channels from one notification. We do this using the via method on our Notification class itself, specifying an array of channels on which we want to send our notification.
Out of the box, you can send slack, email, and in-app without any additional packages. However, there are many options these days when it comes to notification channels. Luckily, a community-maintained website shows you the options, installation instructions, and how to send notifications through many different channels.
Let’s walk through a basic example of sending a Notification. We have a system where people can book meetings, think Calendly or SavvyCal. Whether this is an API, web interaction, or even CLI, we will always want the same result. If somebody books a meeting, we should notify that person, letting them know that the meeting was booked, with a calendar invite attached. We also want to let the person the meeting is booked with know so they can be aware. We might also like to update something on a third-party system to manage availability.
First off, let us generate a notification using our artisan console:
php artisan make:notification UserMeetingBookedNotification --testLet’s break down the command. We want to make a notification that part is clear and fits most artisan commands when generating code. We then provide a name for the Notification itself. You could use namespaces to further the grouping of the notification using either ”\” or ”/” to separate namespaces. We also tag on the option --test so that Laravel will generate a test for this specific notification; this will be a Feature test. I use pestPHP for my testing framework, so I usually publish the stubs to customize the generated test output.
Once we have generated our notification code, we should focus on what properties must be passed to the constructor (if any) and what channels we want to deliver to. So let’s assume we want to accept a name and email to the notification so we can alert the user who has booked a meeting with them.
Let’s start building our notification:
declare(strict_types=1);

namespace App\Notifications;

use Carbon\CarbonInterface;
use Illuminate\Bus\Queueable;
use Illuminate\Contracts\Queue\ShouldQueue;
use Illuminate\Notifications\Notification;

final class UserMeetingBookedNotification extends Notification implements ShouldQueue
{
    use Queueable;

    public function __construct(
        public readonly string $name,
        public readonly string $email,
        public readonly CarbonInterface $datetime,
    ) {}
}
We can now build our notification to deliver. We need to decide on a channel. For this tutorial, I will focus on the options available by default, but Laravel Notification Channels has a lot of information you can use for alternative channels.
We will use this notification to email the user to let them know they have a meeting booked. So to do so, we need to add the via method and state that we want to use the mail channel.
declare(strict_types=1);

namespace App\Notifications;

use Carbon\CarbonInterface;
use Illuminate\Bus\Queueable;
use Illuminate\Contracts\Queue\ShouldQueue;
use Illuminate\Notifications\Notification;

final class UserMeetingBookedNotification extends Notification implements ShouldQueue
{
    use Queueable;

    public function __construct(
        public readonly string $name,
        public readonly string $email,
        public readonly CarbonInterface $datetime,
    ) {}

    public function via(mixed $notifiable): array
    {
        return ['mail'];
    }
}
Once we have added the via method, we need to describe the Mail Message we will be sending. We do this in the toMail method. The general rule here is that each channel requires a to method, where we prefix the capitalized channel with to.
declare(strict_types=1);

namespace App\Notifications;

use Carbon\CarbonInterface;
use Illuminate\Bus\Queueable;
use Illuminate\Contracts\Queue\ShouldQueue;
use Illuminate\Notifications\Messages\MailMessage;
use Illuminate\Notifications\Notification;

final class UserMeetingBookedNotification extends Notification implements ShouldQueue
{
    use Queueable;

    public function __construct(
        public readonly string $name,
        public readonly string $email,
        public readonly CarbonInterface $datetime,
    ) {}

    public function via(mixed $notifiable): array
    {
        return ['mail'];
    }

    public function toMail(mixed $notifiable): MailMessage
    {
        return (new MailMessage)
            ->subject('New Booking Received.')
            ->greeting('Booking received')
            ->line("{$this->name} has booked a meeting with you.")
            ->line("This has been booked for {$this->datetime->format('l jS \\of F Y h:i:s A')}")
            ->line("You can email them on {$this->email} if you need to organise anything.");
    }
}
That is it; this will send a nice simple email to the user alerting them how they can get in touch and the fact that they received a booking.
Let us say that we now need to add this to a slack channel, perhaps for tracking reasons. We still want to send the email notification but add a channel.
To start with, we should be sure to test what we have already built. As with all aspects of your projects, you cannot guarantee things will work unless you test them. Let’s first write our test around sending an email notification. Then we can make our changes.
it('can send an email notification when a booking is made', function () {
    Notification::fake();

    $user = User::factory()->create();

    expect(
        Bookings::query()->count(),
    )->toEqual(0);

    $action = app()->make(
        abstract: CreateNewBookingAction::class,
    );

    $action->handle(
        user: $user->id,
        name: 'Test User',
        email: 'test@email.com',
        time: now()->addHours(12),
    );

    expect(
        Bookings::query()->count(),
    )->toEqual(1);

    Notification::assertSentTo(
        [$user],
        UserMeetingBookedNotification::class,
    );
});
We are faking the notification driver in Laravel so that the notification isn’t routed to anyone. We then create a user we want to notify and resolve our logic from the container - abstracting this logic makes testing easier. We want to make sure that when we make a booking, it is saved, but then we want to ensure that the notification was sent as expected, just never delivered.
We can add another check in our test here to make sure that our test is sending to the correct channel:
it('sends the notification to the correct channels', function () {
    Notification::fake();

    $user = User::factory()->create();

    $action = app()->make(
        abstract: CreateNewBookingAction::class,
    );

    $action->handle(
        user: $user->id,
        name: 'Test User',
        email: 'test@email.com',
        time: now()->addHours(12),
    );

    Notification::assertSentTo(
        [$user],
        UserMeetingBookedNotification::class,
        function (mixed $notification, array $channels): bool {
            return in_array('mail', $channels);
        },
    );
});
A similar test to our initial one, but this time we are adding a third argument to our assert sent to call, which has a callable where we want to ensure that we are sending to our mail channel.
Now we are pretty happy with our test coverage. We know that when the action is handled, a notification will be sent and that when it is sent, the channels include the mail channel - which means that our email will be delivered.
Let’s get back to adding the next channel: slack. I have hidden the toMail method from the code example below to make it easier to see what is being done:
declare(strict_types=1);

namespace App\Notifications;

use Carbon\CarbonInterface;
use Illuminate\Bus\Queueable;
use Illuminate\Contracts\Queue\ShouldQueue;
use Illuminate\Notifications\Messages\MailMessage;
Illuminate\Notifications\Messages\SlackMessage;
use Illuminate\Notifications\Notification;

final class UserMeetingBookedNotification extends Notification implements ShouldQueue
{
    use Queueable;

    public function __construct(
        public readonly string $name,
        public readonly string $email,
        public readonly CarbonInterface $datetime,
    ) {}

    public function via(mixed $notifiable): array
    {
        return ['mail', 'slack'];
    }

    public function toSlack(mixed $notifiable): SlackMessage
    {
        return (new SlackMessage)
            ->success()
            ->content("{$this->name} just booked a meeting for {$this->datetime->format('l jS \\of F Y h:i:s A')}.");
    }
}
For this to work correctly, however, we need to make sure we install a first-party notification package by the laravel team:
composer require laravel/slack-notification-channelNow that this is done, we can amend our test to ensure that we are also sending it to the slack channel:
it('sends the notification to the correct channels', function () {
    Notification::fake();

    $user = User::factory()->create();

    $action = app()->make(
        abstract: CreateNewBookingAction::class,
    );

    $action->handle(
        user: $user->id,
        name: 'Test User',
        email: 'test@email.com',
        time: now()->addHours(12),
    );

    Notification::assertSentTo(
        [$user],
        UserMeetingBookedNotification::class,
        function (mixed $notification, array $channels): bool {
            return in_array('mail', $channels)
                & in_array('slack', $channels);
        },
    );
});
There are more tests we can do with our Notifications, but this is an excellent place to start without overcomplicating it. We know that we will send the correct Notification at the right time to the right user on the right channels.
One thing to remember is that Notifications do not have to be queued. These can be sent synchronously as well.
So now we know how to create and test a notification; let’s look at sending them.
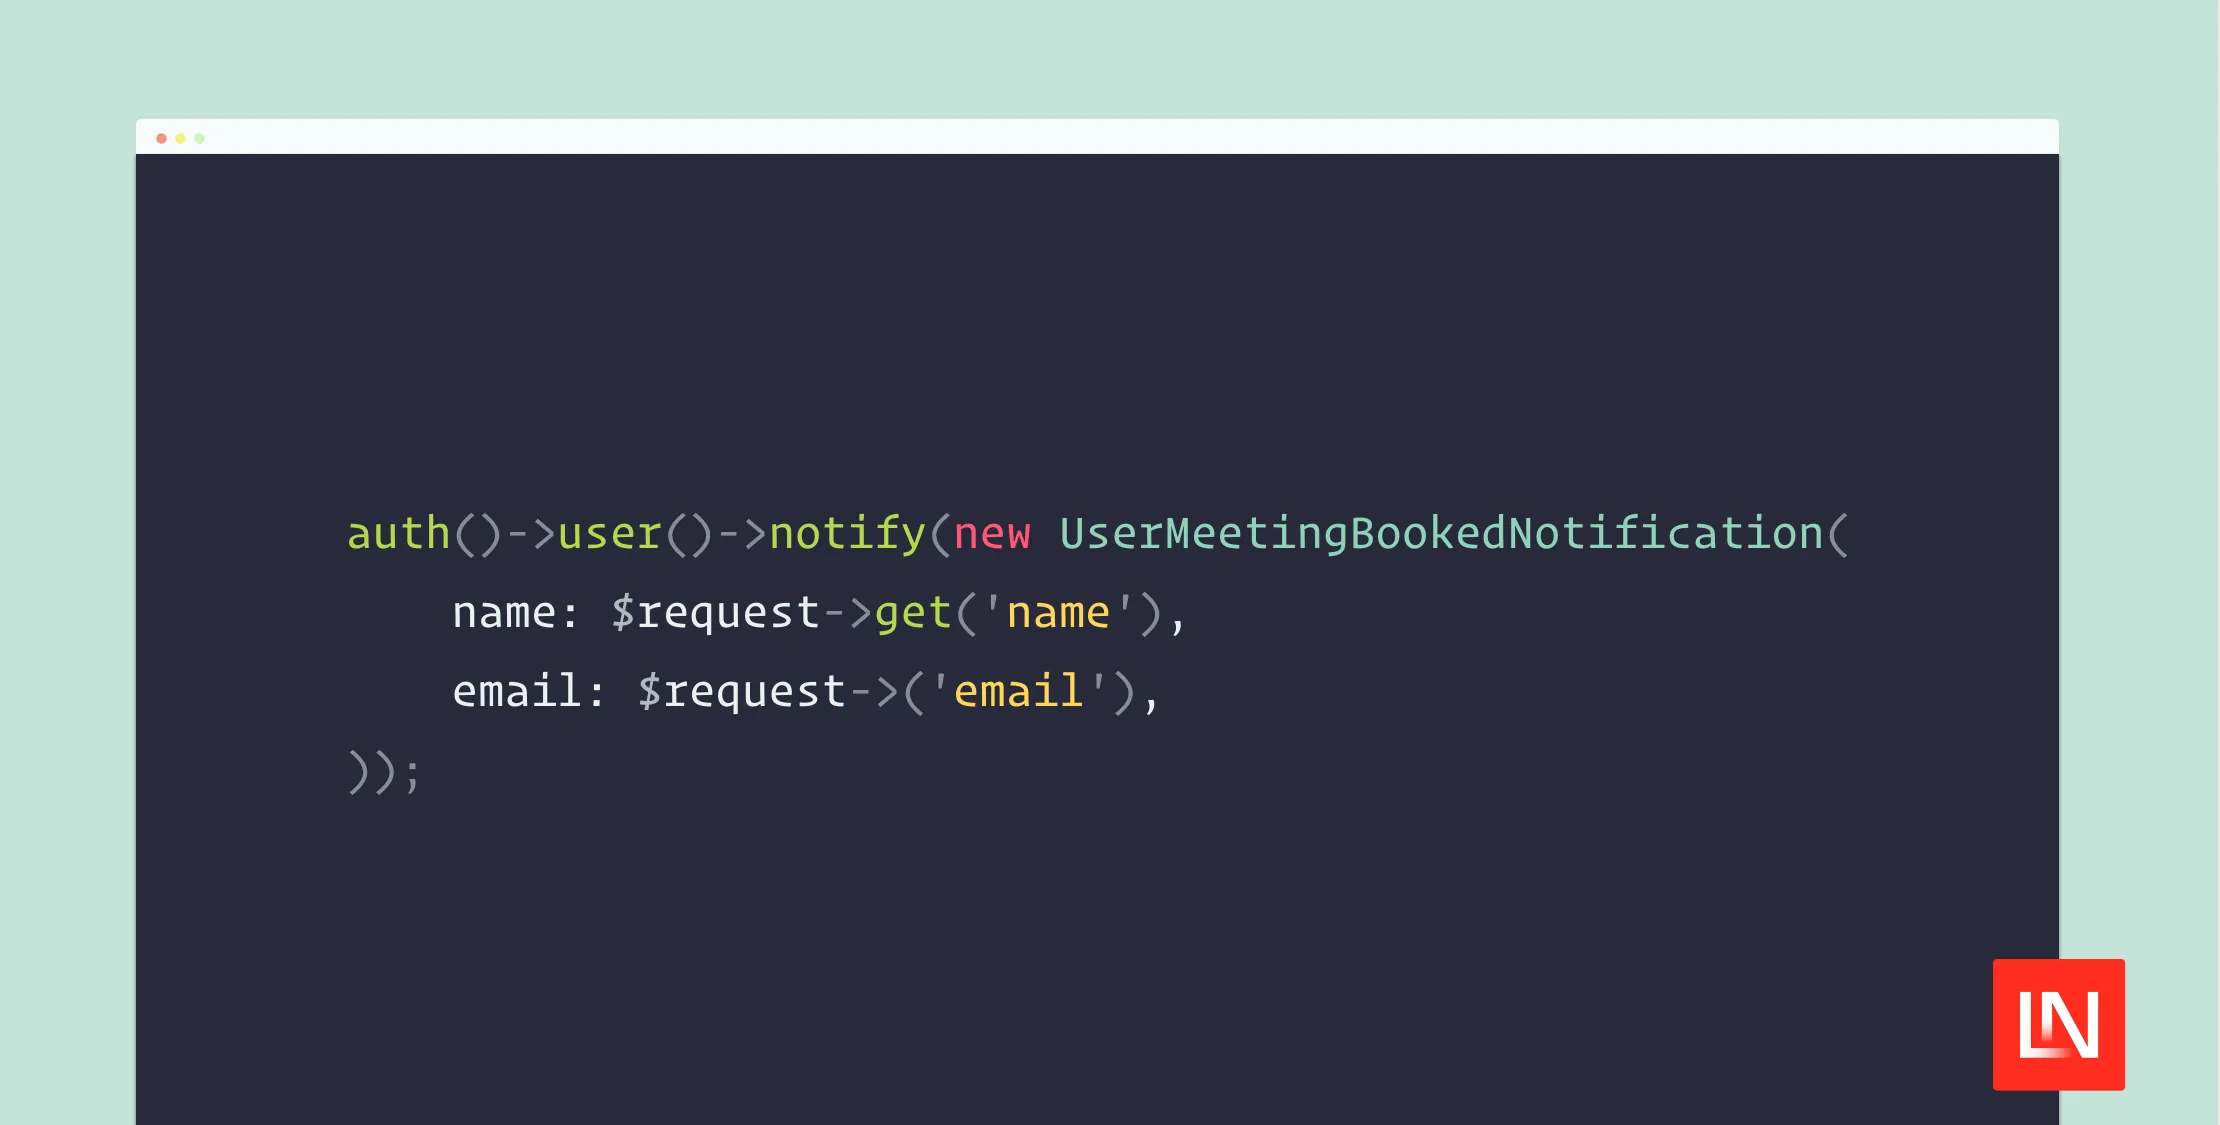
In the default Laravel application, your User Model implements the Notifiable trait, which allows you to do something like the following:
auth()->user()->notify(new UserMeetingBookedNotification(
    name: $request->get('name'),
    email: $request->('email'),
));
This is great, but the notifiable trait relies on the model having an email property that is accessible. What do we do when our use case does not quite fit this approach? The Notifiable trait is then not of much use to us. This is where I find the Notification facade to be your best friend. You can use the Notification facade to manually route a notification instead of leaning on the trait itself. Let’s look at an example:
Notification::send(['email address one', 'email address two'], new EmailNotification($arguments));The above example will allow you to programmatically send a notification to an array of email addresses quickly and easily. A slightly cleaner way to do so would be to use the on-demand notifications. Let’s say we want to be able to send a notification as part of an artisan command programmatically. You can provide an argument for the channel and programmatically select how to send the notification.
It begins with the Notification facade. Then you tell it to route a notification with a channel and argument.
Notification::route('slack', 'slack-webhook-url')
    ->notify(new SlackNotification($argument));
The Notification facade is very powerful and flexible, allowing you to send notifications on demand and test them quickly.
How do you use Notifications in your Laravel applications? What is your favorite channel? Let us know on Twitter!